How to Take Product Photos That Actually Sell
Master product photography for online selling with these proven tips. Learn lighting, angles, backgrounds, and editing techniques that make items sell faster.
You have a closet full of clothes you never wear, a shelf of gadgets gathering dust, and furniture from an apartment you have long since outgrown. You know these items have value. But when you snap a quick photo, toss it into a listing, and wait for buyers to come knocking, nothing happens. The problem is almost never the item itself. It is the photo.
Research consistently shows that listings with high-quality photos sell up to three times faster than those with blurry, dark, or cluttered images. In community marketplaces especially, where buyers already trust the seller, a good photo is often the only thing standing between "I'll think about it" and "I'll take it." This guide will walk you through everything you need to know about taking product photos that actually sell, using nothing more than the smartphone already in your pocket.
Why Product Photos Matter More Than You Think
When someone scrolls through a marketplace feed, they make split-second decisions about what to tap on. Your photo is your storefront window. It communicates quality, care, and value before a single word of your description is read.
Consider two listings for the same winter jacket. One is photographed on a wrinkled bedsheet under yellow overhead lighting, half-obscured by a pile of laundry. The other is laid flat on a clean white surface near a window, with the zipper detail captured in a close-up. Both jackets are identical. But the second listing will attract five to ten times more inquiries. That is not a guess. That is how visual commerce works.
In a community marketplace like Cirkle, where you are selling to neighbors, coworkers, or fellow members of a group you belong to, first impressions still count. Trust may already exist between buyer and seller, but a polished photo signals that you have taken the listing seriously and that the item is worth the asking price.
The Only Equipment You Need: Your Smartphone
Let's get one myth out of the way immediately. You do not need a DSLR camera, a photography studio, or expensive lighting rigs to take product photos that sell. Modern smartphones, whether iPhone or Android, have cameras that are more than capable of producing sharp, well-lit, professional-looking images.
Here is what you actually need:
- A smartphone made in the last five years. Any model with a decent rear camera will work.
- A clean cloth. Wipe your lens before every photo session. You would be surprised how much pocket lint and fingerprint smudges degrade image quality.
- A window. Natural light is the single most important factor in great product photography.
- A plain surface or background. A white poster board, a clean table, or even a bedsheet pulled taut will do.
That is genuinely it. Everything else is technique, and technique is free.
Lighting: The Single Biggest Factor
If you learn only one thing from this guide, let it be this: natural light changes everything. The difference between a photo taken under a kitchen ceiling light and one taken near a window during the day is dramatic.
How to Use Natural Light
Position your item near the largest window in your home. The ideal scenario is indirect sunlight, meaning light that is bright but not streaming directly onto the item. Direct sunlight creates harsh shadows and blown-out highlights that obscure details.
- Best time of day: Morning or late afternoon, when sunlight is softer and more diffused.
- Overcast days are your friend. Cloud cover acts as a natural diffuser, creating even, flattering light with minimal shadows.
- Face the item toward the light source. The window should be in front of or to the side of the item, not behind it. Backlighting creates silhouettes.
What to Avoid
- Camera flash. The built-in flash on your phone creates flat, washed-out images with harsh shadows. Turn it off permanently for product photos.
- Overhead ceiling lights. These cast unflattering downward shadows and often produce a yellow or orange color cast.
- Mixed lighting. If you have a window on one side and a lamp on the other, you will get conflicting color temperatures. Stick to one light source.
Diffusing Harsh Light
If direct sunlight is your only option, hang a white bedsheet or thin curtain over the window. This diffuses the light, softening shadows and creating a more even illumination across the item. You can also use a piece of white poster board as a reflector on the opposite side of the item to bounce light into shadow areas.
Backgrounds: Clean, Simple, and Distraction-Free
The background of your product photo should do one thing: disappear. Buyers should see the item, not the environment around it.
The Best Background Options
- White poster board. Available at any dollar store or office supply shop. Tape it to a wall and let it curve onto a table to create a seamless "infinity" background.
- A clean, solid-colored surface. A wooden table, a marble countertop, or a plain desk works well for many items.
- Neutral fabric. A linen tablecloth or cotton sheet in white, gray, or beige provides texture without distraction.
What to Declutter
Before you take a single photo, look at your frame critically. Remove everything that is not the item being sold. That means:
- No coffee mugs, remote controls, or random objects in the background
- No visible cords, chargers, or other electronics (unless they are part of the listing)
- No pets, children, or body parts visible in the frame
- No patterned bedspreads, busy rugs, or cluttered shelves
The goal is ruthless simplicity. The item should be the undeniable focal point of every image.
Angles: Tell the Complete Story
A single photo from one angle is never enough. Buyers want to inspect the item visually before committing, and they cannot pick it up and turn it around. Your job is to do that for them through multiple well-chosen angles.
The Five Essential Shots
- The hero shot. A straight-on, front-facing view of the item in its best light. This is the photo that appears as the thumbnail in search results and feeds. Make it count.
- The back or alternate view. Show the other side. For clothing, this is the back of the garment. For electronics, this is the port layout. For furniture, this is the rear panel.
- The detail shot. Zoom in on the feature that matters most. The stitching on a leather bag. The screen quality on a tablet. The grain of a wooden table.
- The scale shot. Place a common object near the item to convey size. A coin next to jewelry. A hand holding a phone case. A person sitting in a chair. Buyers consistently cite "it was bigger/smaller than I expected" as a reason for dissatisfaction.
- The flaw shot. If there is a scratch, stain, dent, or sign of wear, photograph it honestly. This builds trust and prevents disputes after the sale. In a community marketplace where you will see the buyer again, transparency is not just ethical. It is practical.
Angle Tips
- Hold your phone at the item's level, not above it looking down (unless it is a flat-lay).
- Keep the camera steady. Brace your elbows against your body or rest the phone on a stable surface.
- Use the grid overlay on your phone's camera app to align the item with the rule of thirds.
Category-Specific Photography Tips
Different types of items require different approaches. Here are targeted tips for the categories that sell most frequently in community marketplaces.
Clothing and Apparel
- Flat-lay is king. Lay the garment on a flat, clean surface and smooth out all wrinkles. Arrange sleeves and collars neatly.
- Show the full garment. Do not crop off the hem of a dress or the cuffs of a jacket.
- Capture the tag. Photograph the brand label and care instructions. Buyers want to verify the brand and know how to care for the item.
- Photograph texture. A close-up of the fabric weave or knit pattern helps buyers assess quality.
Electronics and Gadgets
- Turn the screen on. A powered-on device with a visible display looks functional and inviting. A black screen looks dead.
- Show all accessories. Lay out the charger, cable, case, and manual alongside the device.
- Capture the model number. A photo of the settings screen or the label on the back helps buyers verify the exact model.
- Demonstrate condition honestly. Photograph any screen scratches under angled light where they are most visible.
Furniture and Home Goods
- Photograph in context. Unlike smaller items, furniture looks best when shown in a room setting. A bookshelf against a wall with a few books on it. A dining table with chairs around it.
- Show dimensions visually. Include a shot with a person standing near the item, or place a common object beside it for scale.
- Capture joinery and construction. Close-ups of how drawers slide, how legs attach, or how cushions fit help buyers assess build quality.
- Move it away from the wall. Pull the piece out slightly so buyers can see it as a standalone object, not fused to your living room.
Kids' Items and Toys
- Clean everything first. Wipe down surfaces, wash fabric items, and remove any visible dirt or stains.
- Show completeness. If it is a puzzle, show all the pieces. If it is a game, lay out all the components.
- Demonstrate functionality. A toy with lights? Turn them on. A ride-on with wheels? Show it from the side so the wheels are visible.
Tools and Equipment
- Show the working end. For a drill, photograph the chuck. For a saw, show the blade condition. For a wrench set, lay out every piece.
- Include the brand and model. A clear photo of the nameplate or label adds credibility.
- Demonstrate scale. Tools can vary wildly in size. A tape measure or ruler in the shot eliminates guessing.
Editing Basics: Polish Without Overdoing It
A small amount of editing can significantly improve your photos. But the goal is enhancement, not transformation. Buyers will notice if the item looks dramatically different in person than it did in the photo.
The Three Adjustments That Matter
- Brightness. Increase it slightly if the photo is underexposed. The item should be clearly visible with no dark or muddy areas.
- Contrast. A subtle increase in contrast makes colors pop and edges look sharper. Do not overdo it, as too much contrast creates an unnatural, crunchy look.
- Crop. Remove unnecessary empty space around the item. Center it in the frame and leave a small margin of background on all sides.
Tools for Editing
You do not need Photoshop. Your phone's built-in photo editor handles brightness, contrast, and cropping perfectly well. If you want a step up, free apps like Snapseed or the editing tools within Google Photos and Apple Photos offer more precise control.
What Not to Do
- Do not use heavy filters. That vintage sepia look may be artistic, but it distorts the item's true color.
- Do not over-saturate colors. The item should look like it does in real life.
- Do not use beauty mode or portrait mode for product photos. These add artificial blur and skin smoothing that distort textures.
Common Mistakes That Kill Sales
Even experienced sellers fall into these traps. Avoid them and you will immediately outperform the majority of listings in any marketplace.
- Using the front-facing camera. The rear camera on your phone is significantly better. Always use it.
- Photographing in dim rooms. If you cannot see the item clearly with your eyes, the camera cannot either.
- Including too many items in one photo. If you are selling a set, arrange it neatly. If you are selling one item, show only that item.
- Forgetting to clean the item. Dust, fingerprints, and smudges are magnified in photos. Wipe everything down first.
- Uploading screenshots instead of photos. This happens more often than you would think, especially with digital goods or electronics. Take an actual photo of the physical item.
- Leaving photo metadata in low resolution. Some messaging apps compress images. Always upload directly from your photo library, not from a chat thread.
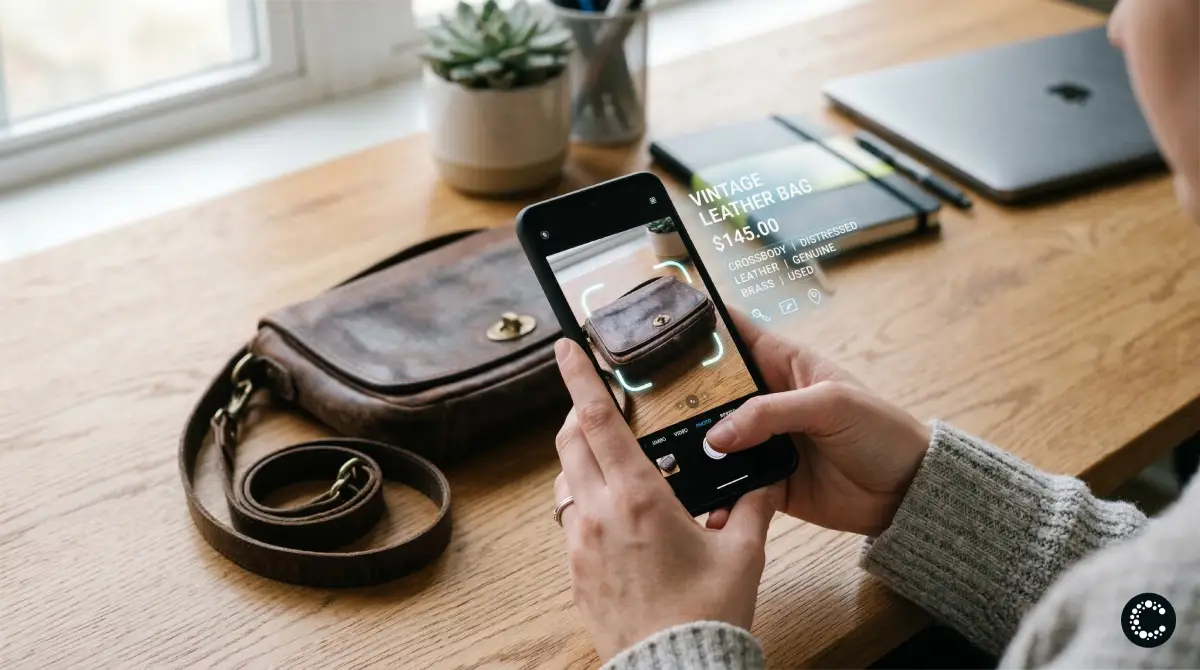
How AI Can Enhance Your Listing Photos
Taking great photos is one part of the equation. Writing a compelling listing to go with them is another. This is where AI-powered tools can save significant time.
On Cirkle, the AI listing generator lets you upload a photo of your item and automatically generates a title, description, suggested price, and relevant tags. Instead of spending ten minutes writing a description for each item, you snap the photo, upload it, and let the AI handle the rest. You can review and edit the generated content before publishing, but the heavy lifting is done for you.
This is especially valuable when you are listing multiple items at once, which brings us to the next section.
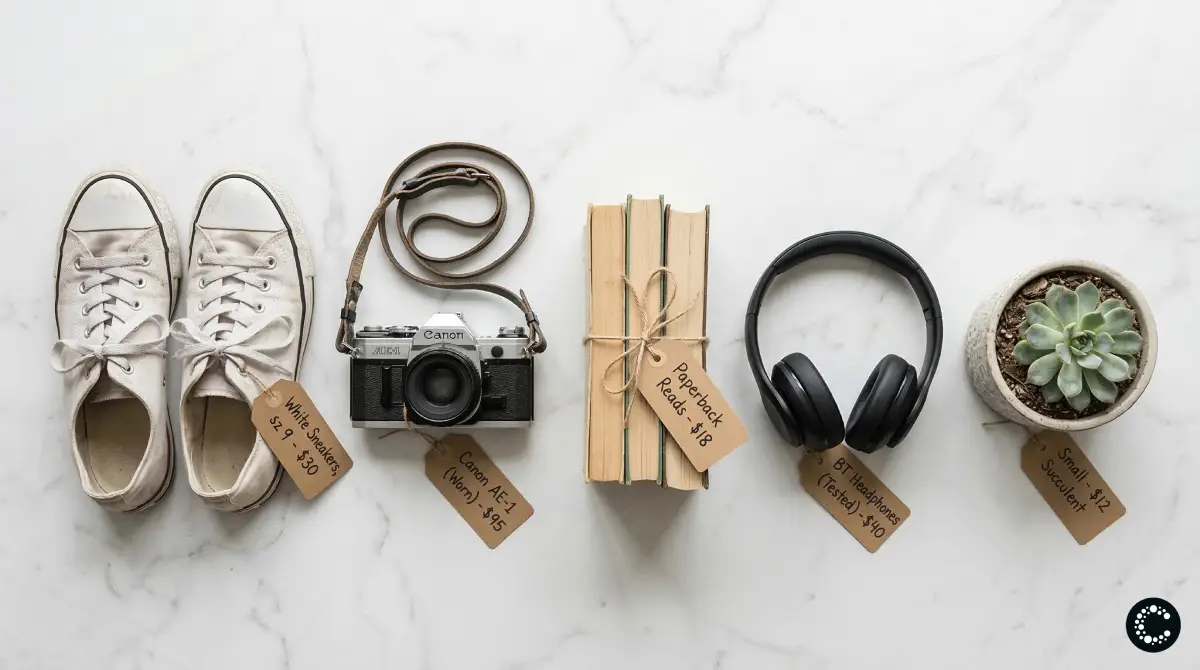
Batch Photography: The Efficient Way to List Multiple Items
If you are doing a closet cleanout, downsizing before a move, or clearing out seasonal items, photographing one item at a time is painfully slow. A batch photography workflow lets you photograph dozens of items in a single session.
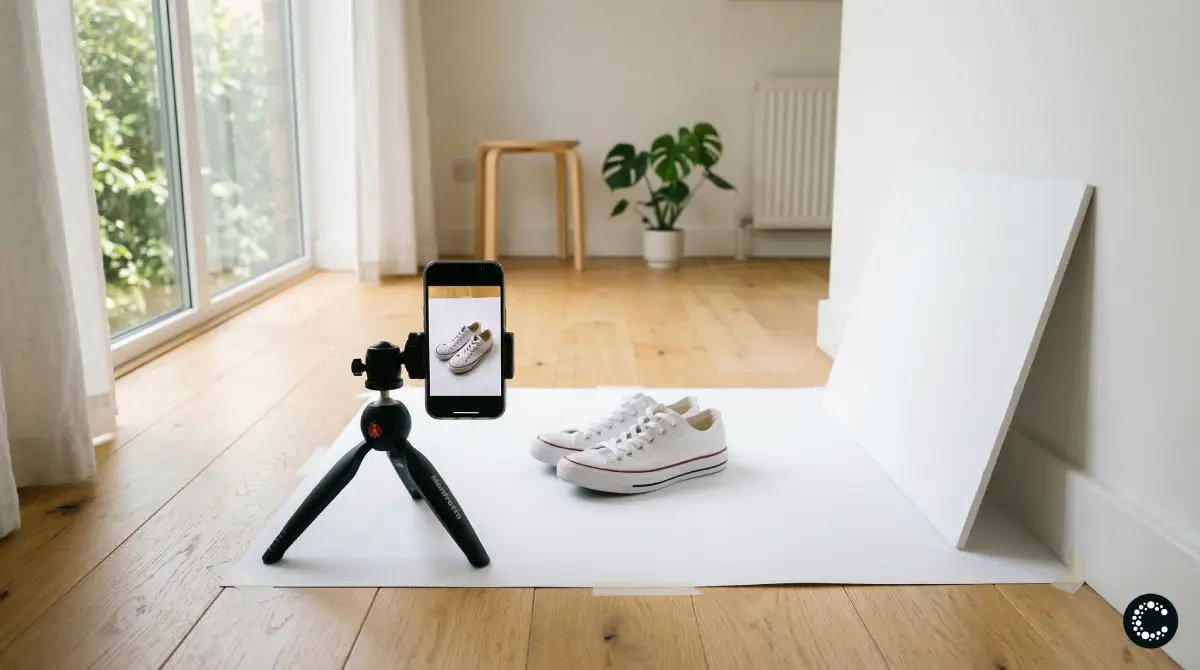
How to Set Up a Batch Session
- Set up your background and lighting once. Position your poster board, find your window light, and get the angle right.
- Gather all items in one place. Bring everything to your photography station rather than moving the station to each item.
- Photograph each item in sequence. Take all five essential shots for one item, then immediately move to the next. Do not stop to edit or write descriptions between items.
- Review and edit after the session. Go through all photos at once, adjusting brightness and contrast. Delete any duplicates or blurry shots.
- Create listings in bulk. With your edited photos ready, create all your listings in one sitting. If you are using Cirkle's AI listing generator, this step becomes remarkably fast: upload each photo and let the AI draft your listing while you move on to the next.
A batch session of 15 to 20 items should take about 30 to 45 minutes for photography and another 20 to 30 minutes for editing and listing creation.
A Quick Checklist Before You Post
Before you hit publish on any listing, run through this final checklist:
- Is the main photo bright, sharp, and clearly showing the item?
- Have you included at least three angles (hero, detail, and back or flaw)?
- Is the background clean and free of distractions?
- Does the photo accurately represent the item's color and condition?
- Have you photographed any flaws or signs of wear?
- Is the item clean and presentable?
- Have you cropped out unnecessary empty space?
If you can check every box, your listing is ready.
Start Selling With Better Photos Today
Great product photography is not about expensive equipment or professional training. It is about natural light, clean backgrounds, thoughtful angles, and honest representation. These are skills anyone can develop in an afternoon, and they will pay off with every single listing you create.
If you are ready to put these tips into practice, create your free marketplace on Cirkle and start listing. Upload your photos, let the AI handle the descriptions, and sell to a community that already trusts you. Zero fees, zero commissions, and zero excuses for blurry photos.
Have questions about getting started? Visit our FAQ or get in touch with our team. And for more selling tips and community marketplace strategies, check out the Cirkle blog.